
Q&A: How to Place Artwork in a Stairwell
We recently surveyed our followers online and they wanted to know a burning question we often get around artwork:
How do you place artwork in a stairwell?
When a home feels “off,” a key culprit is the transitional spaces we so often ignore. It’s that empty wall that catches your eye every time you walk upstairs, or that railing that feels stuck in another decade.
The easiest way to refresh your home is to give your attention to these unfinished spaces.
Otis Interiors: Project Davis
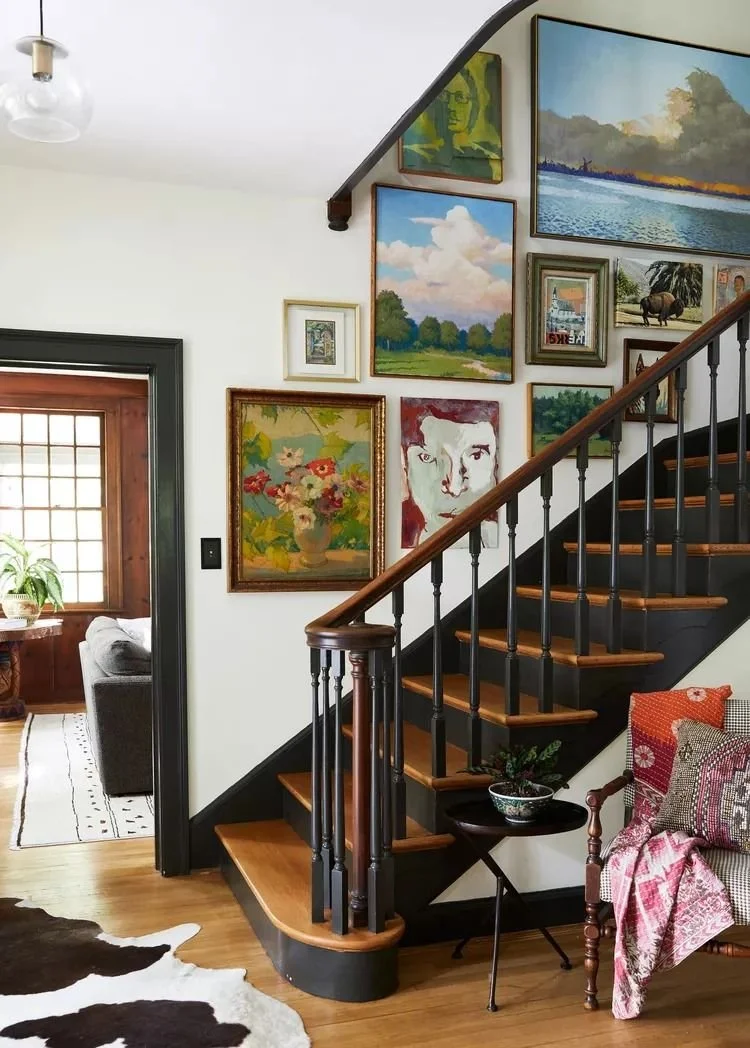
How to Place Artwork in a Stairwell?
The stairwell can easily become a forgotten zone—awkward angles, changing sightlines, and limited access make it tricky to get right. But it’s also one of the best places in your home to add a personal touch and create a beautiful focal point.
1. Start by reading the space
Every stairwell layout behaves differently:
Is yours enclosed, or open, connecting visually to the rest of your home?
Do you have landings, turns, or a straight run?
These factors determine your sightlines and focal points.
Look for:
The wall you naturally face when walking / the biggest wall
The view from your main floor—what wall reveals itself first?
Lighting conditions—is there natural light from a window, or is it dim?


2. Define Your Style
If you’re unsure of your aesthetic, create a quick visual test: search Pinterest for “stairwell gallery wall,” “minimal stair art,” or “organic modern stair design.” Save 10–15 examples, then look for common threads—are you drawn to clean lines, neutral tones, or eclectic collections?
We often see our homeowners fall into two broad style categories:
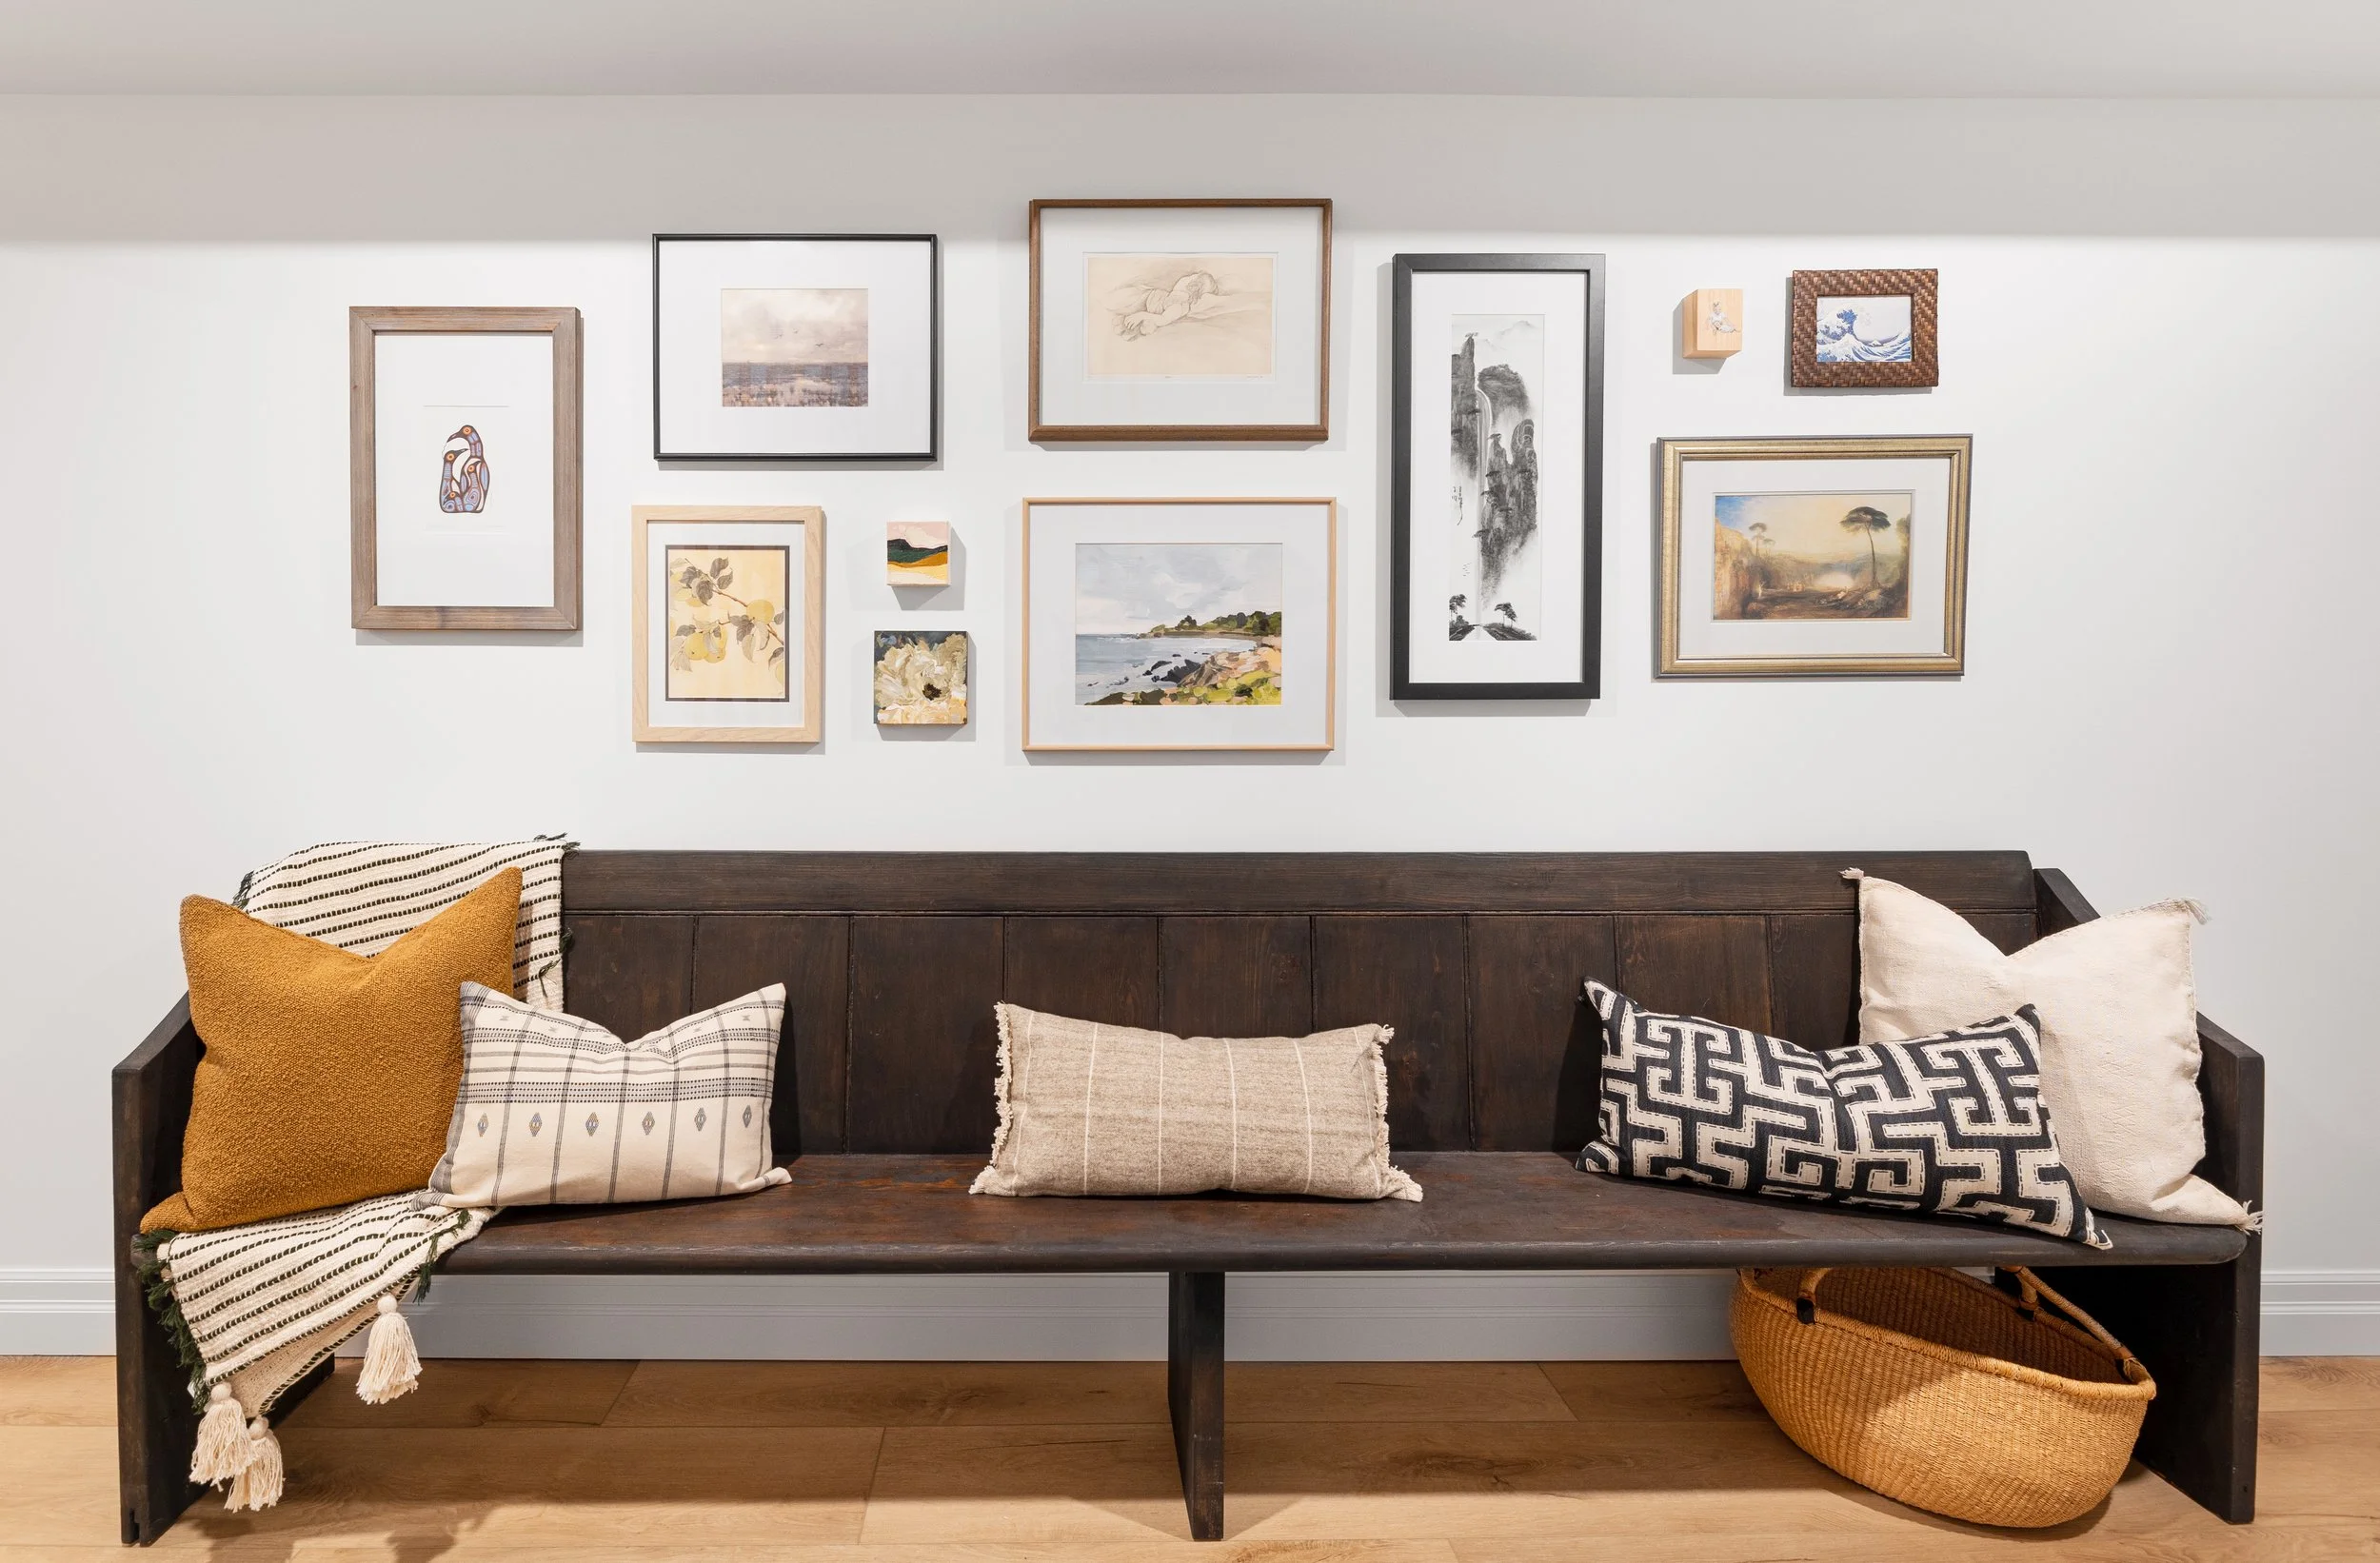
Clean and minimal – a single, large piece that commands attention without clutter.
Collected and layered – a gallery wall that feels personal and evolving over time.
Neither is “better.” The key is resonance—art that genuinely makes you feel something. It’s your home and you should love it!
Whether it’s a quiet landscape, bold abstract, or architectural photograph, choose pieces that evoke a mood you want to feel in motion—calm, inspired, or energized.


3. Get The Scale Right
If your stairwell has one strong wall with height, a large-scale piece often creates balance and drama. For smaller or segmented walls, groupings work better, creating visual continuity as the eye rises.
Pro tip: before hammering a single nail, map your layout using painter’s tape and craft paper. This simple exercise can save hours of frustration and it makes sure you are happy with what you’ve laid out!

Otis Design Tip:
If hanging multiple pieces, keep 2–4 inches between frames. Adjust spacing based on your wall’s scale and frame sizes. For height, align the center of each piece roughly 57–60 inches from the stair tread directly below it—mirroring natural eye level.
And when it’s time to install:
Use finishing nails for lightweight pieces.
Drywall anchors for anything 30 lbs or more.
Always use a laser level to maintain consistent alignment along the slope.
At Otis we often take the planning further—
Mocking up layouts digitally for clients
Sourcing and curating complementary artwork
Providing precision on-site installation
The goal is to always make the end result look intentional and effortless.
Not sure where to get art?
Shop a few of our retail favourites to explore art that speaks to you:
Opposite Wall | Desenio | Juniper Print Shop | Poster Store | Etsy
To explore more art directly from artist’s, we love visiting Art on the Street in Guelph, Ontario and other art events locally.